How to Prepare Soil Before Sod Installation | The SodFather Guide
The SodFather specializes in premium sod installation and automated sprinkler systems for homes and businesses across Ontario. From soil preparation to final roll, we deliver lasting results, exceptional service, and stress-free lawn transformations.
How to Prepare Soil Before Sod Installation | The SodFather Guide
We help homeowners and businesses build vibrant, healthy lawns that enhance curb appeal and value. Fast installation, premium soil, and expert care, your dream yard starts here.
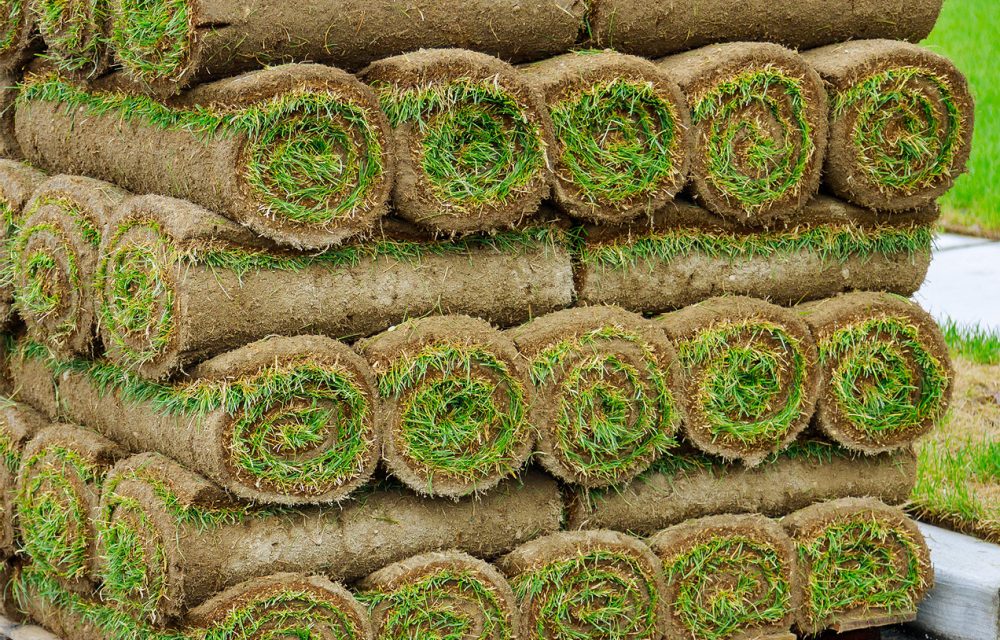
We exclusively install fresh-cut Kentucky Bluegrass from Greenhorizon Sod Farm, one of Southern Ontario’s most trusted growers.
● Sod is cut daily, delivered in skids, and installed the same day for maximum vitality.
● Known for its rich green color, durability, and thick coverage—ideal for family yards and high-traffic areas.
● Each pallet is inspected to ensure quality, density, and root health before installation.
When it comes to installing new sod, most homeowners focus on choosing the right grass type. While premium sod like Kentucky Bluegrass plays a major role in the final appearance of your lawn, the true foundation of a healthy, long-lasting lawn lies beneath the surface. Proper soil preparation is what determines whether your sod thrives for years or struggles within months.
At The SodFather, we’ve seen firsthand how incorrect soil preparation leads to drainage problems, weak root establishment, and premature lawn deterioration. Understanding the correct preparation process ensures your sod installation delivers the best possible results.
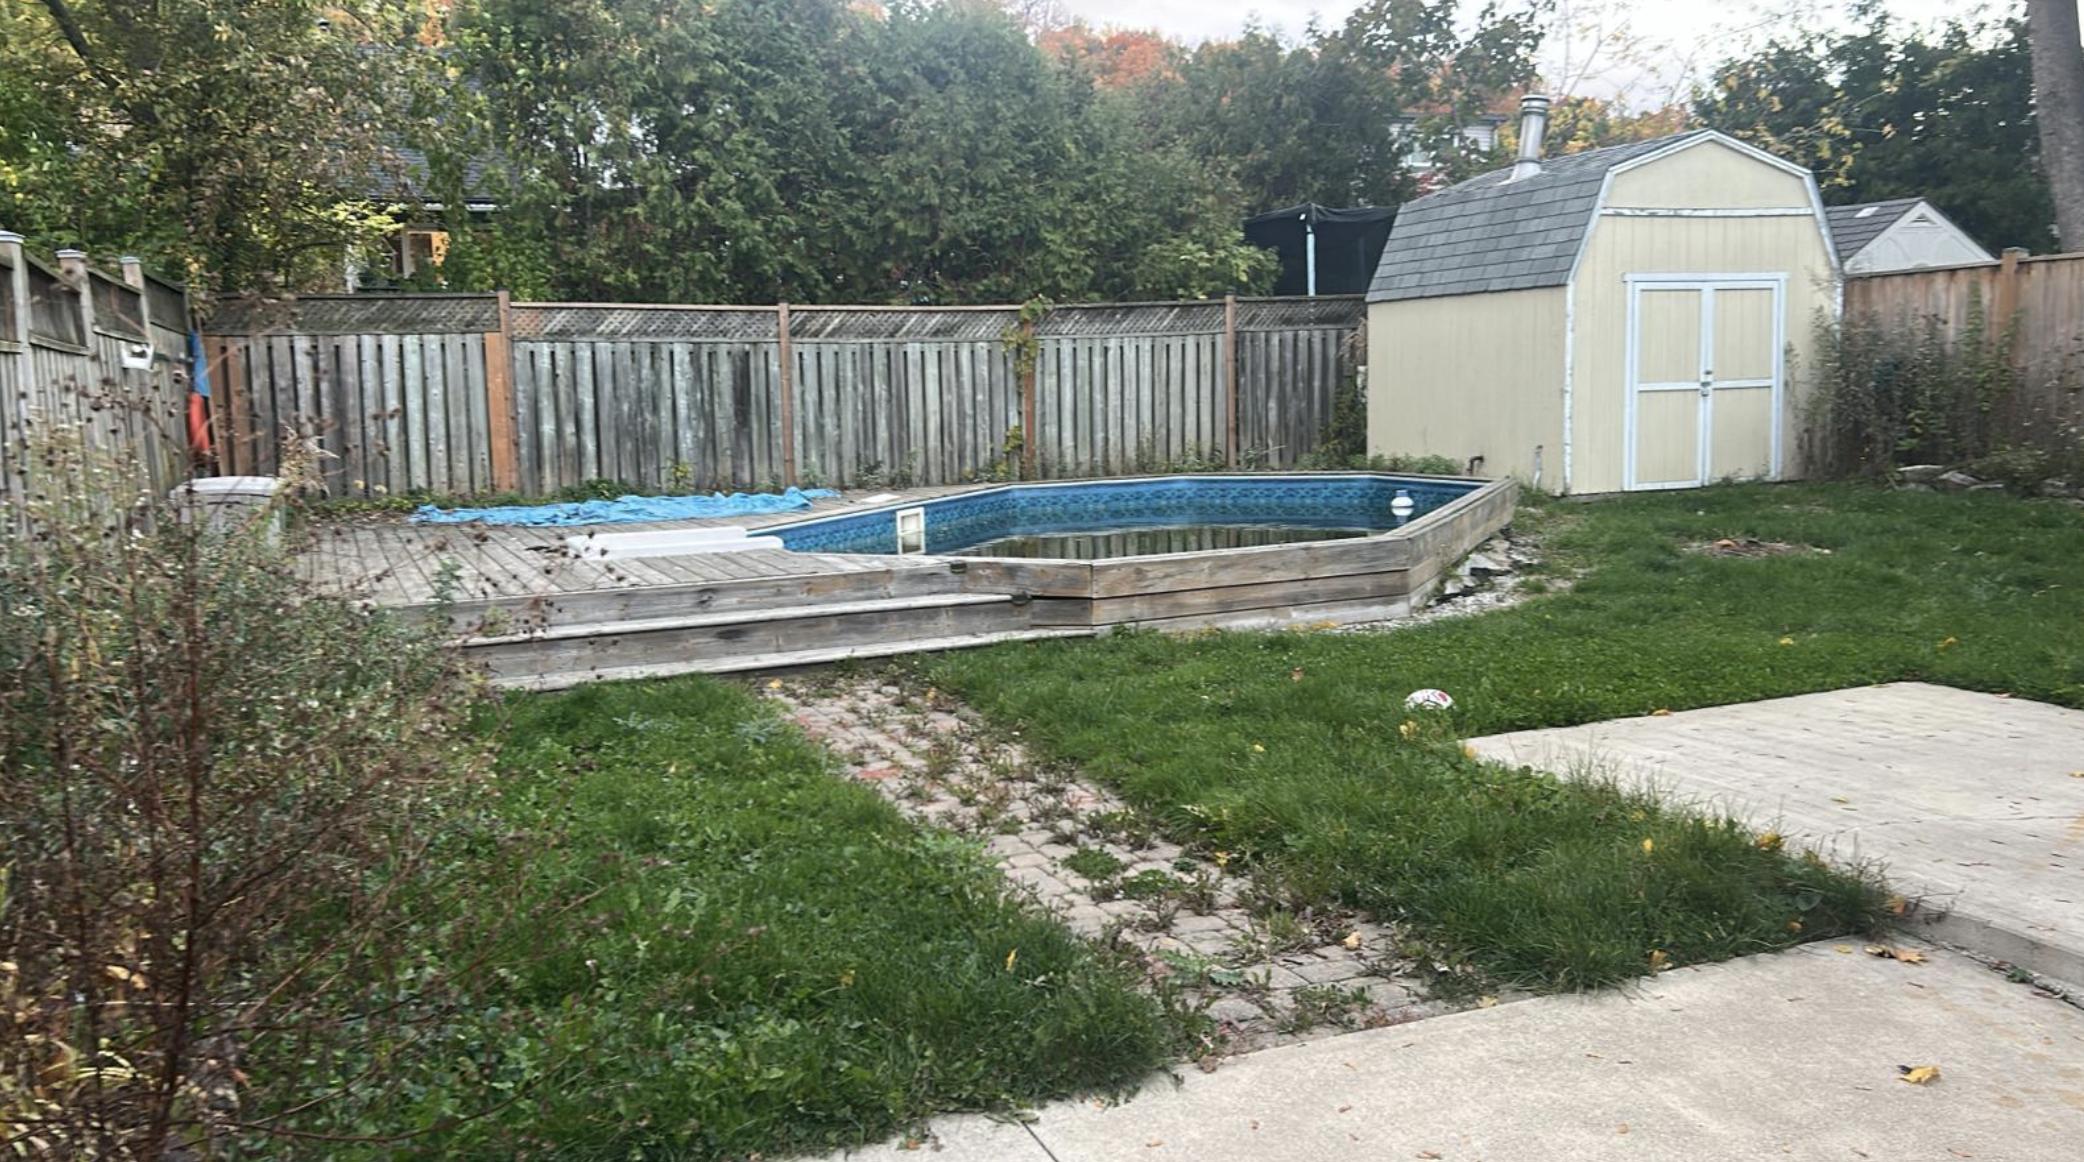
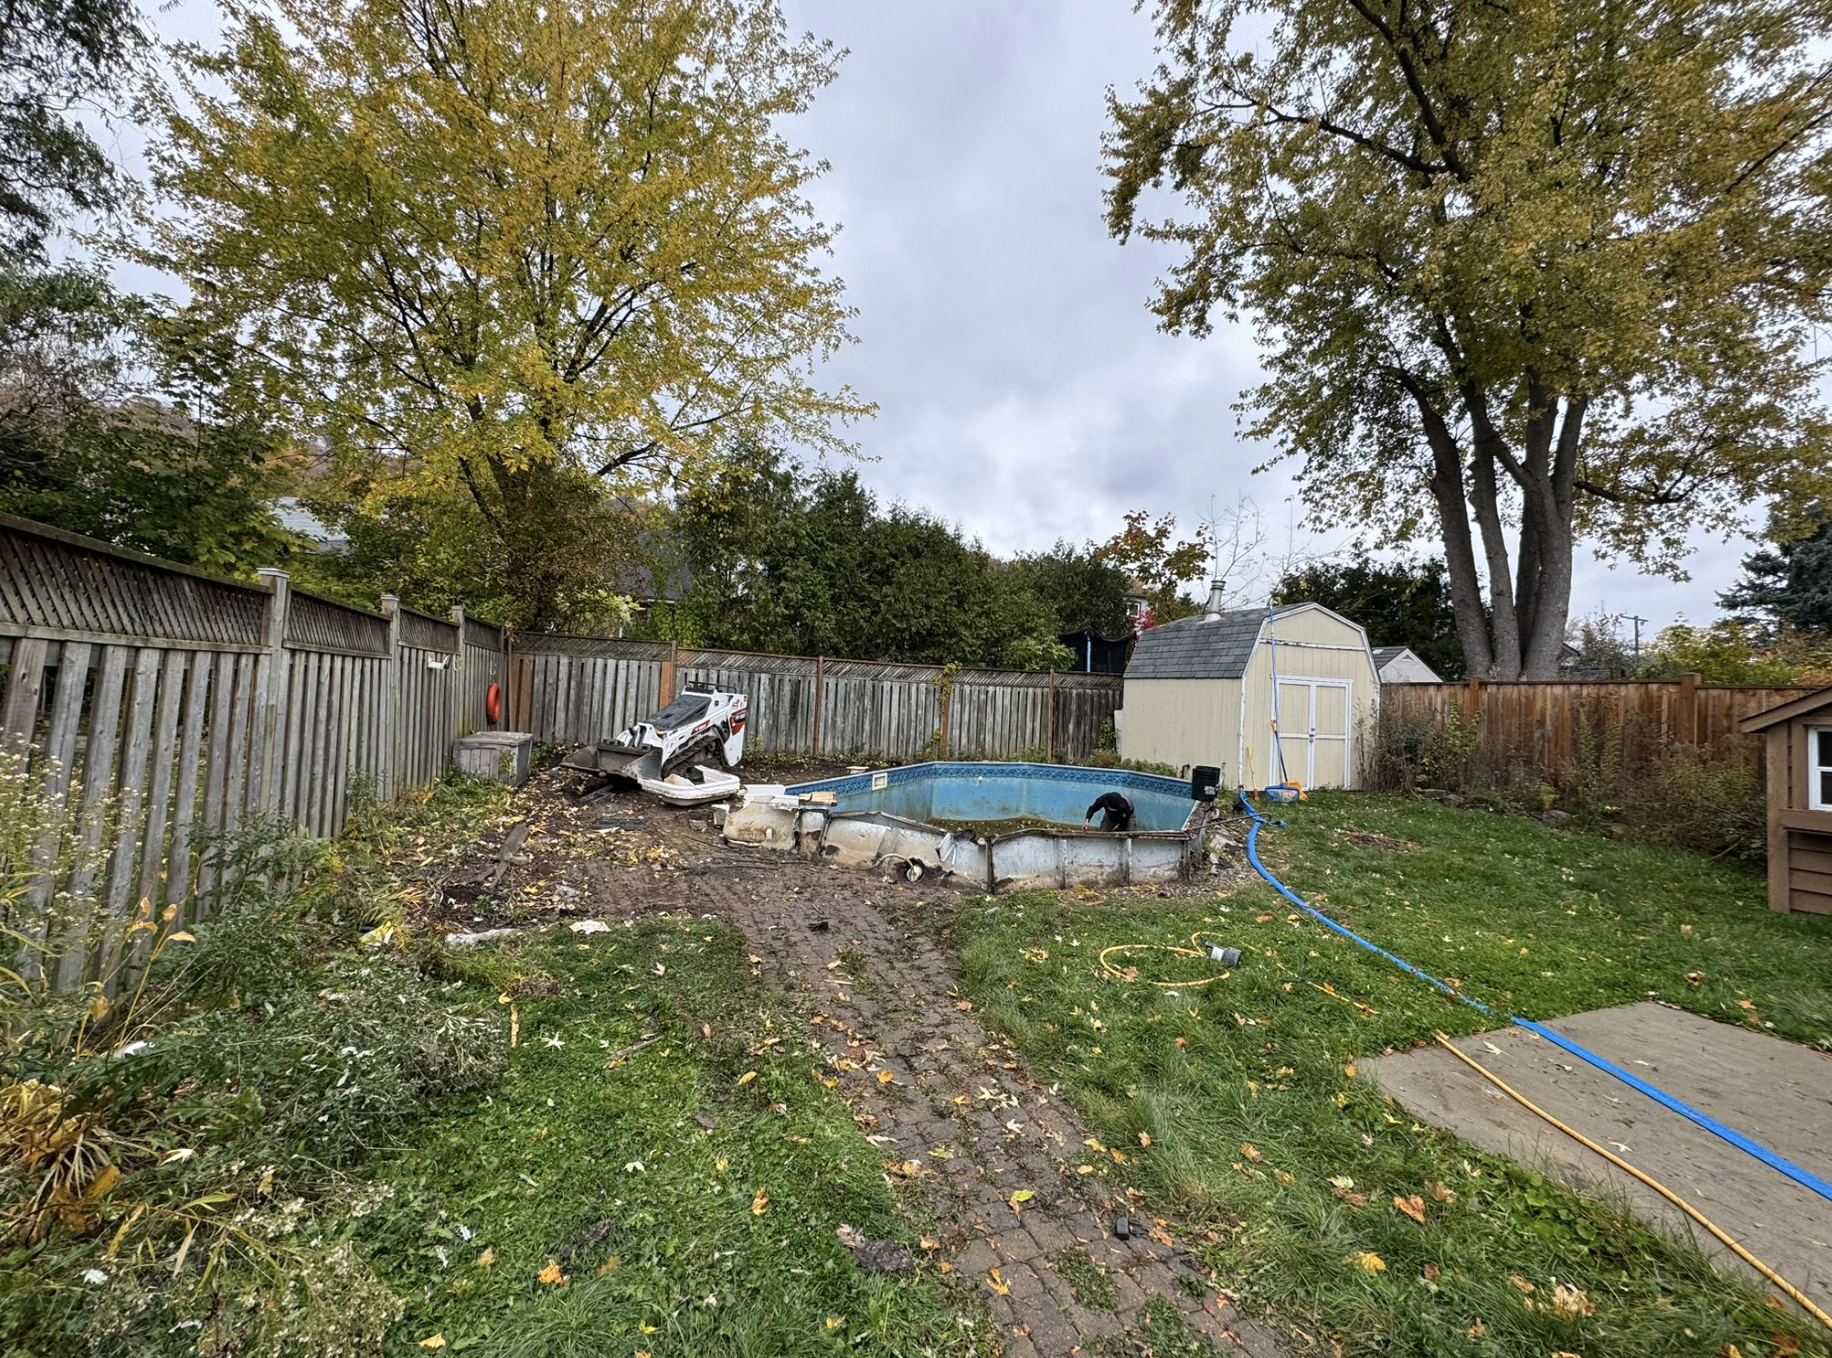
Excavation: The First and Most Important Step
Successful sod installation begins with proper excavation. To achieve optimal performance, a minimum of three inches of existing soil should be removed from the working area and replaced with fresh, nutrient-rich soil. Skipping this step and installing sod directly over existing soil often results in uneven growth, poor drainage, and long-term lawn health issues.
Excavation creates a clean foundation that allows the new sod roots to establish properly and grow into a stable, supportive base.
Tilling the Base for Long-Term Lawn Health
After excavation, some properties require tilling. This process involves using a light-duty garden tiller to loosen the excavated base and remove any remaining roots or organic debris. Tilling improves soil structure and promotes better root penetration.
Failing to till when necessary can negatively impact sod performance in the long run. Compacted or root-filled soil prevents proper root establishment and limits the lawn’s ability to absorb nutrients and water effectively.
Choosing the Right Soil Blend Matters
One of the most common mistakes in sod preparation is using the wrong type of soil. The ideal solution is a balanced blend of triple mix soil and topsoil. Each plays a unique role in lawn performance.
Topsoil alone may lack sufficient nutrients, while excessive triple mix can hinder proper drainage. When drainage is compromised, the lawn may become overly soft or “spongy,” leading to root stress and potential grass decline. Achieving the correct soil balance ensures both healthy growth and proper water movement.
Soil Screening: The Difference Between Quality and Problems
Not all soil is created equal. The difference between low-cost soil and premium screened soil lies in the processing methods used to eliminate weeds, seeds, and contaminants. Higher-quality soil undergoes multiple screening stages to ensure a clean, consistent material.
Using improperly screened soil can introduce unwanted weeds and long-term lawn maintenance challenges. Investing in quality soil from the start helps prevent surprises after installation and supports healthier sod development.
Light Compaction Before Installation
Once the proper soil blend has been applied, the surface should be lightly compacted using a lawn roller. This step levels the ground and removes air pockets that can cause uneven settling after sod installation.
Proper compaction creates a smooth, stable surface that allows sod to make full contact with the soil, which is essential for successful root establishment.
Pre-Installation Fertilization: The Final Boost
Applying fertilizer before sod installation provides the grass with an immediate nutrient boost. This is especially beneficial in shaded areas where natural growth conditions may be less favorable.
Pre-installation fertilization helps accelerate root development, promotes healthy early growth, and supports long-term lawn resilience.
Why Professional Soil Preparation Makes a Difference
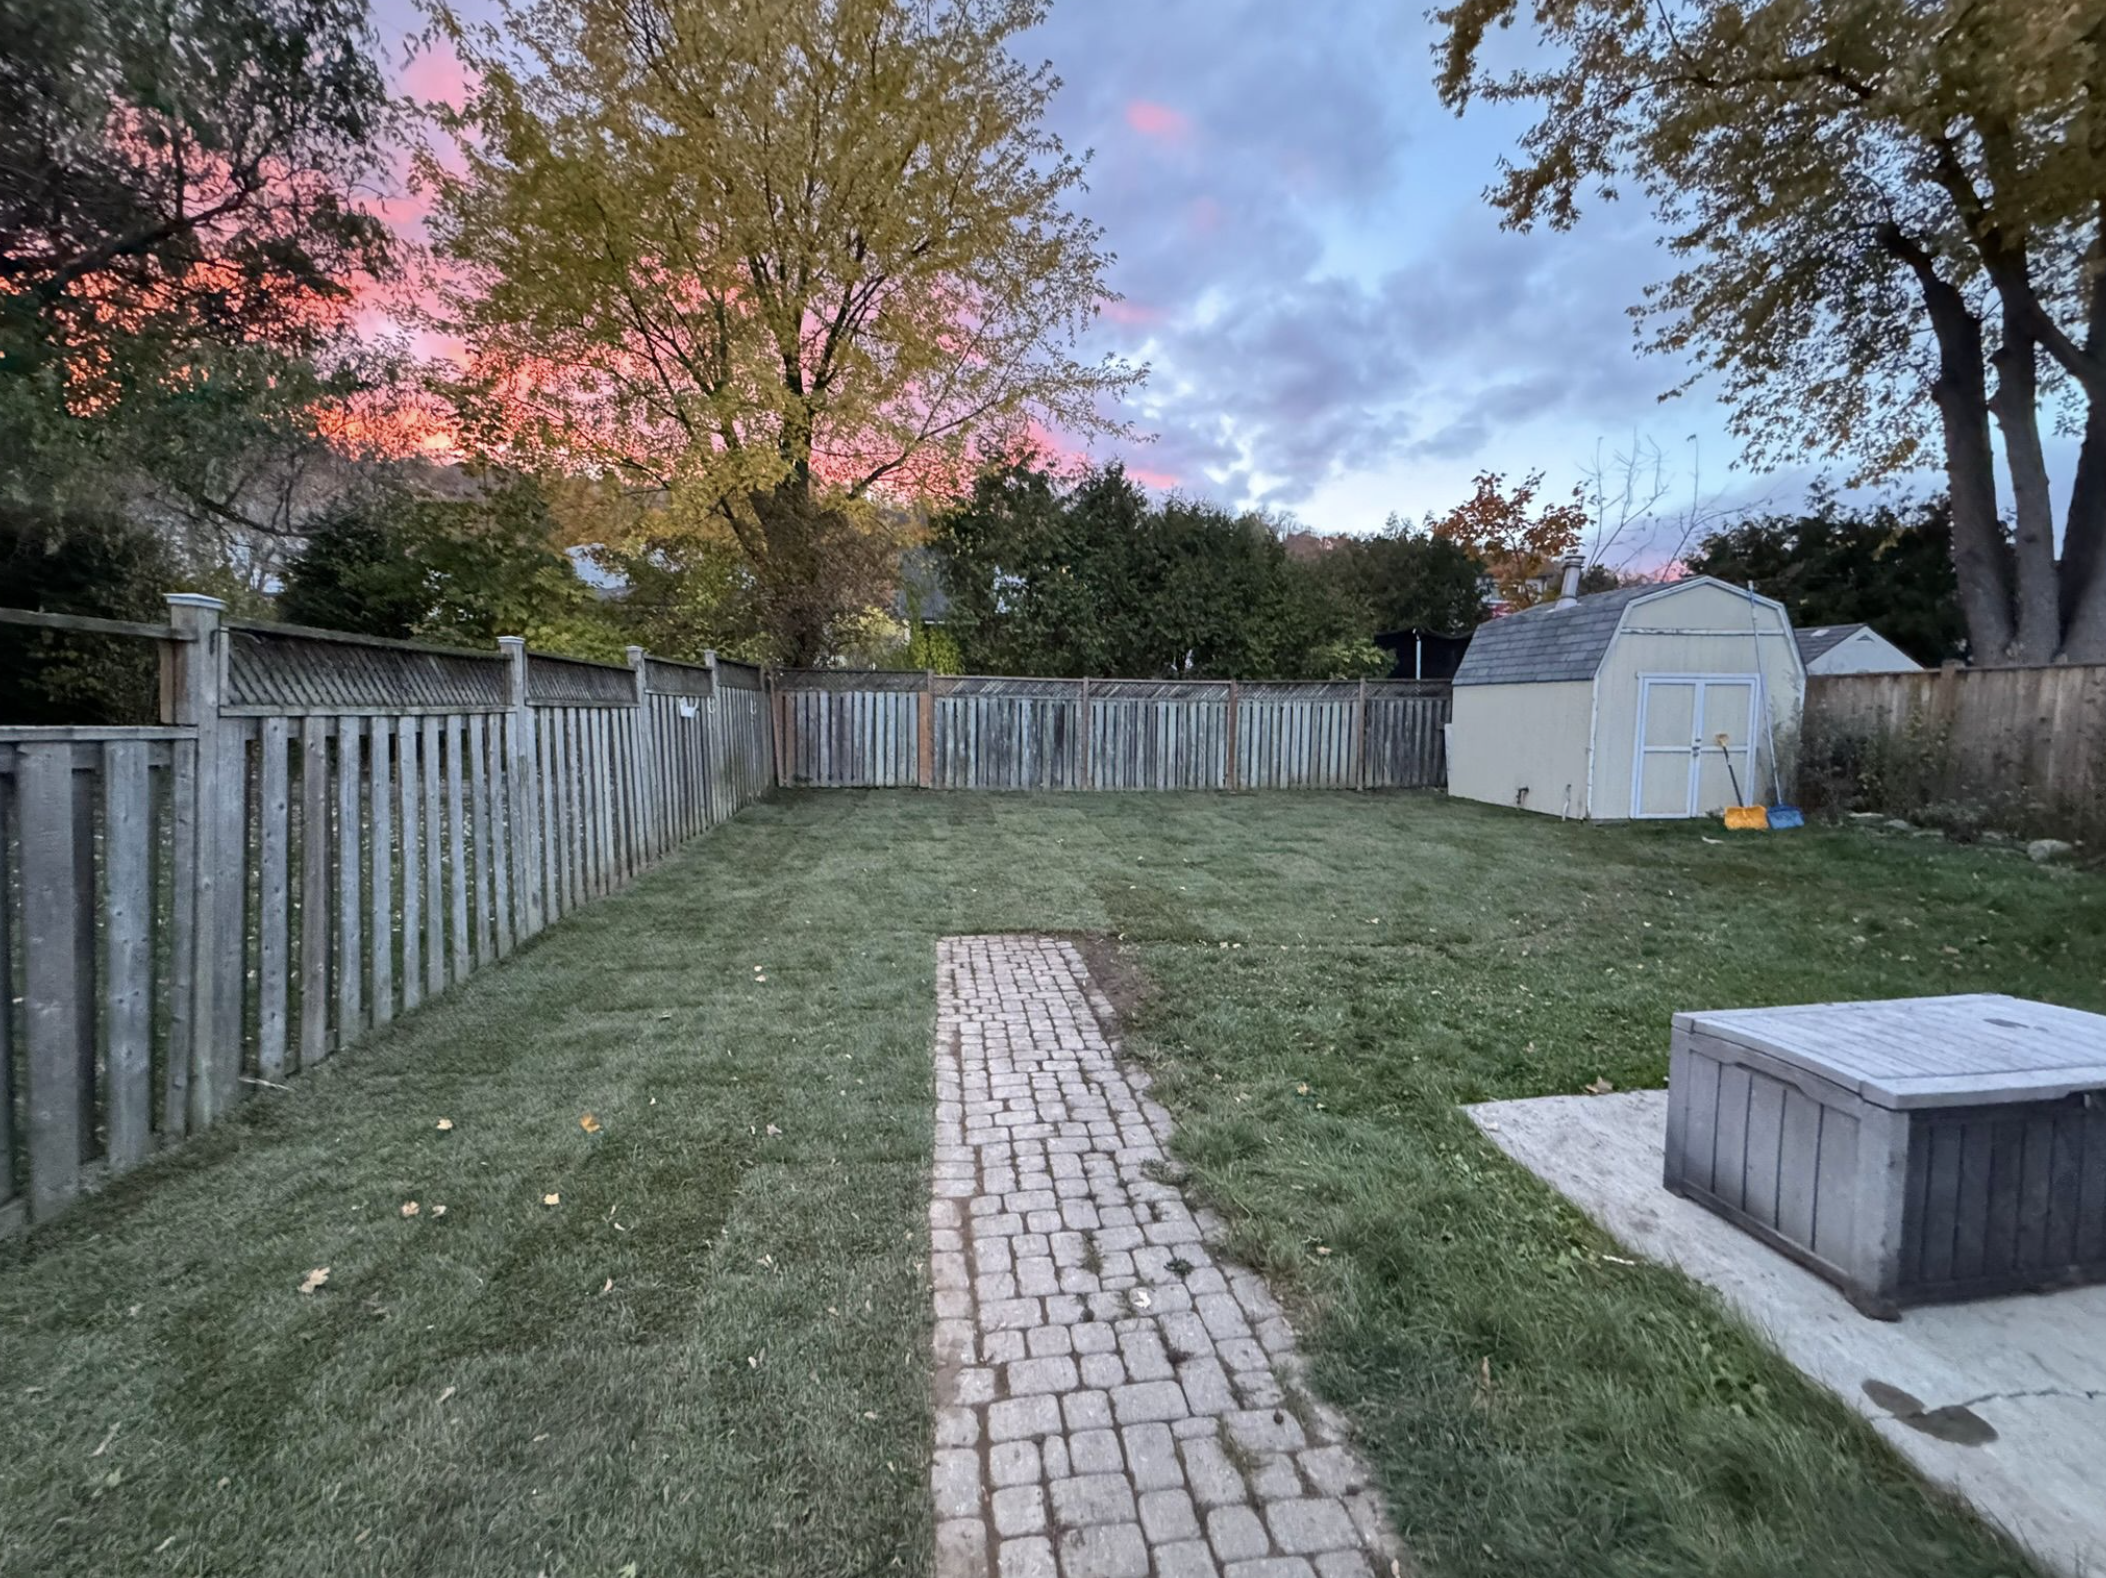
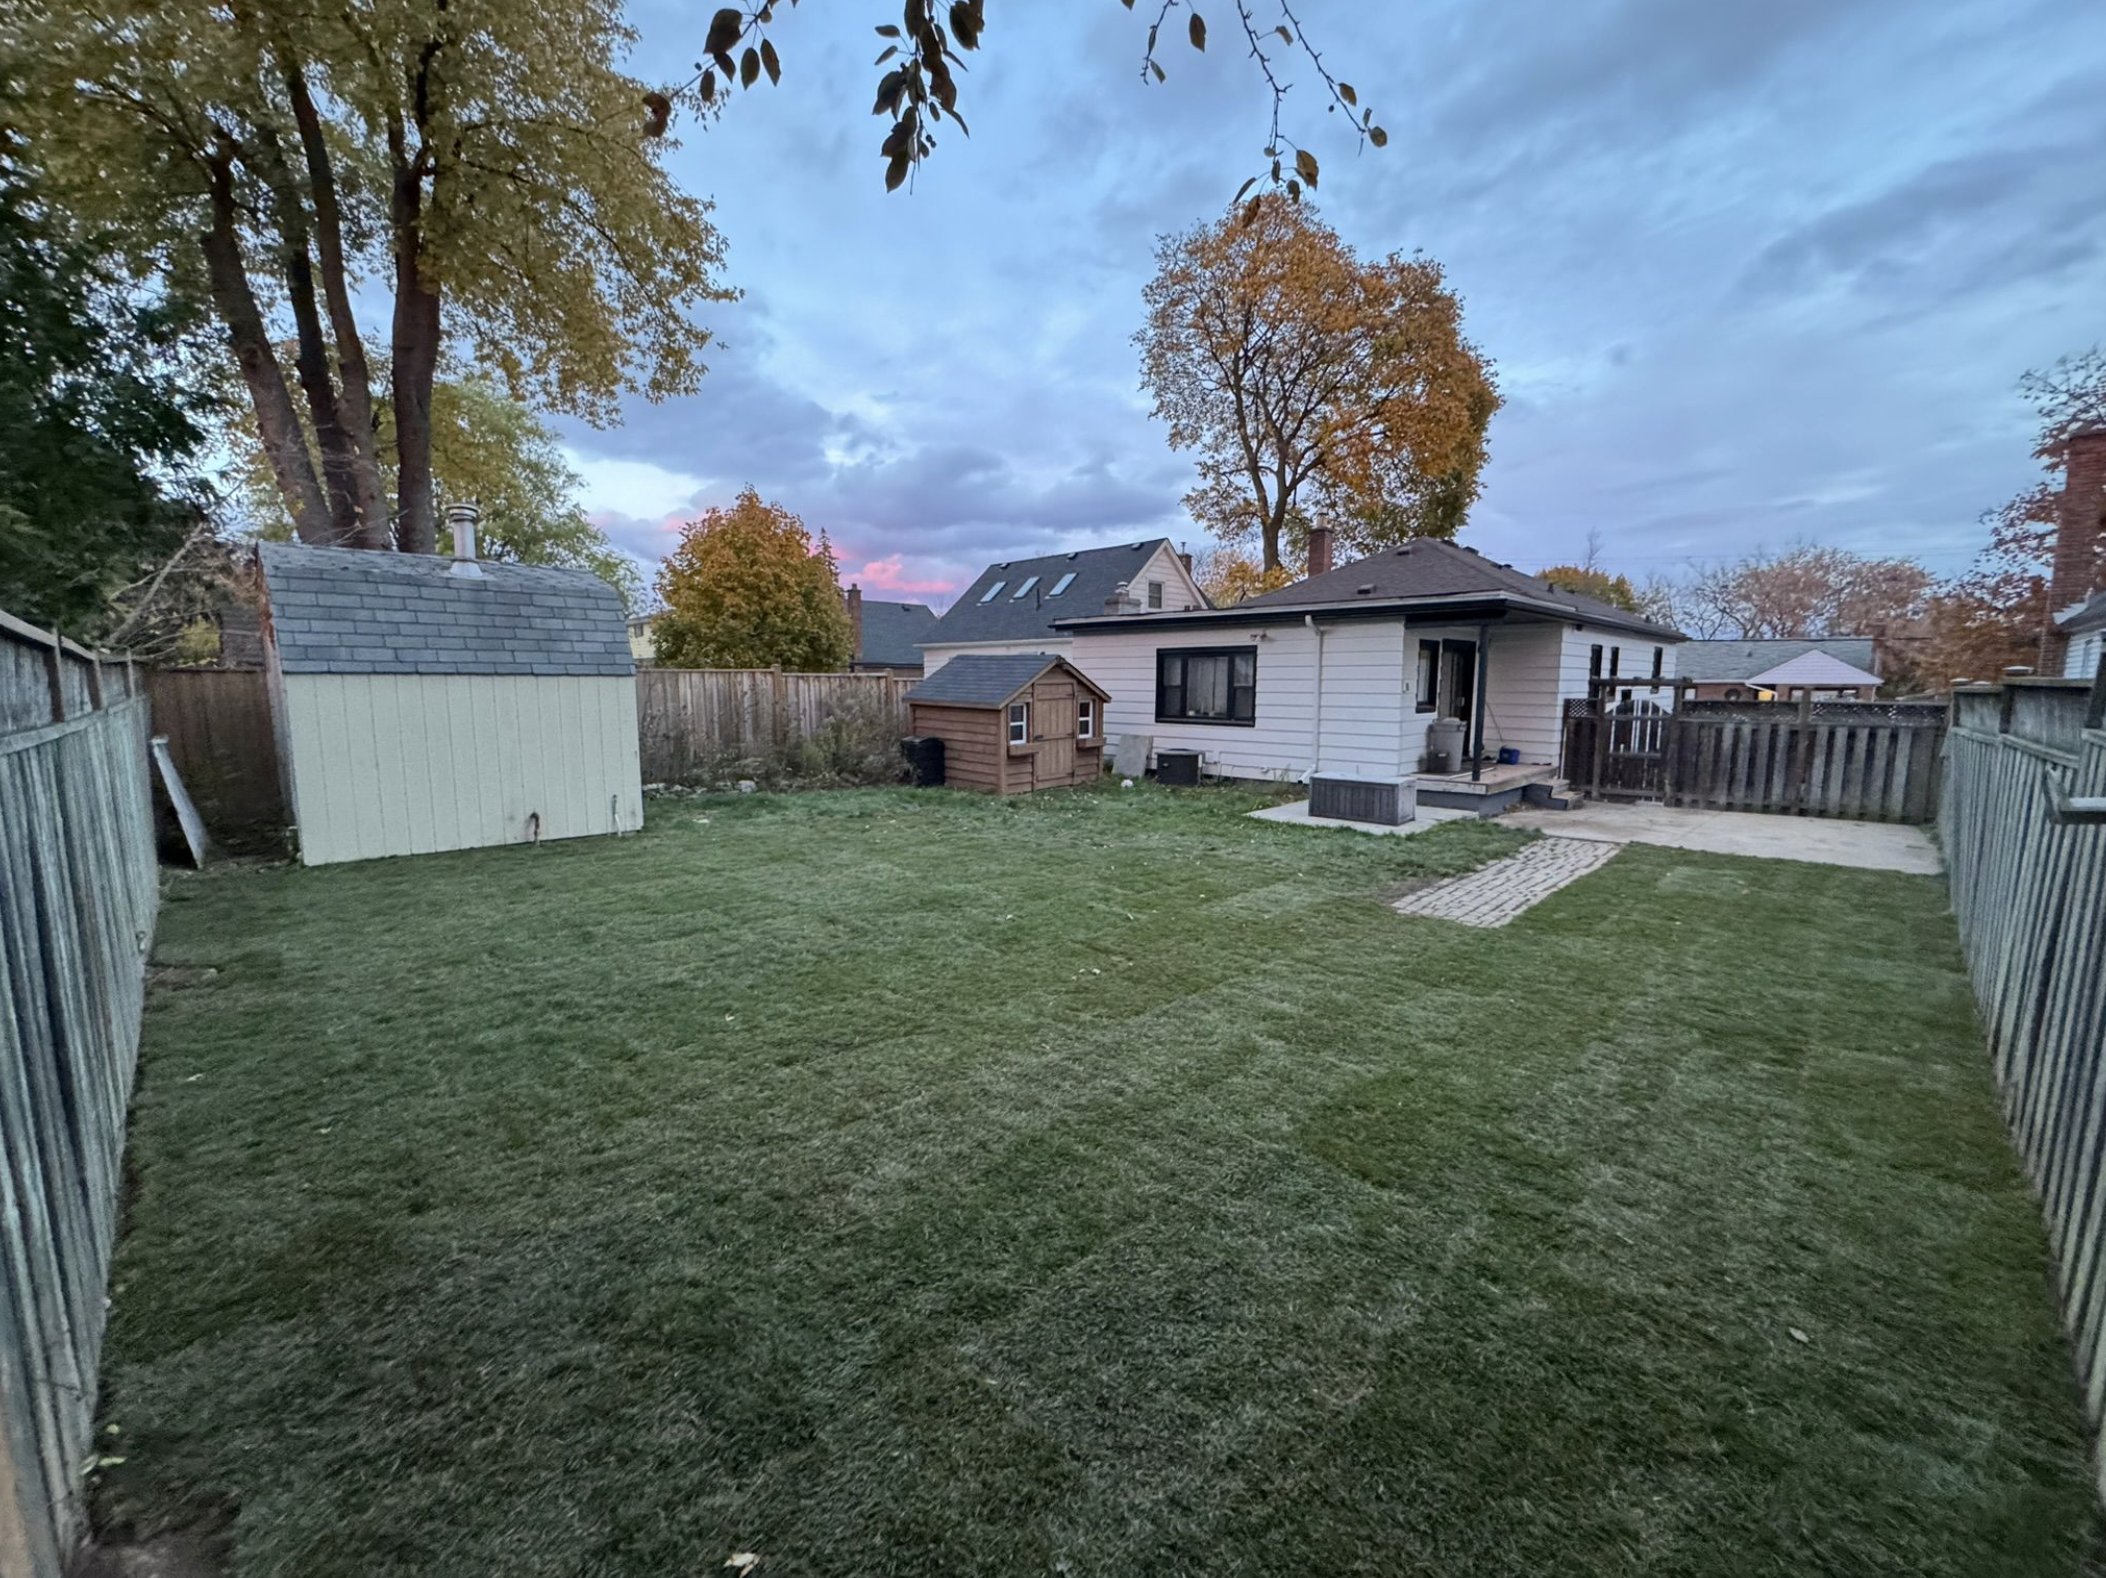
Proper soil preparation is more than just a step in the sod installation process — it is the foundation of a successful lawn. From excavation and soil selection to compaction and fertilization, each phase plays a critical role in ensuring durability, drainage, and visual appeal.
At The SodFather, we follow proven preparation techniques to deliver lawns that not only look beautiful immediately but continue to perform season after season.
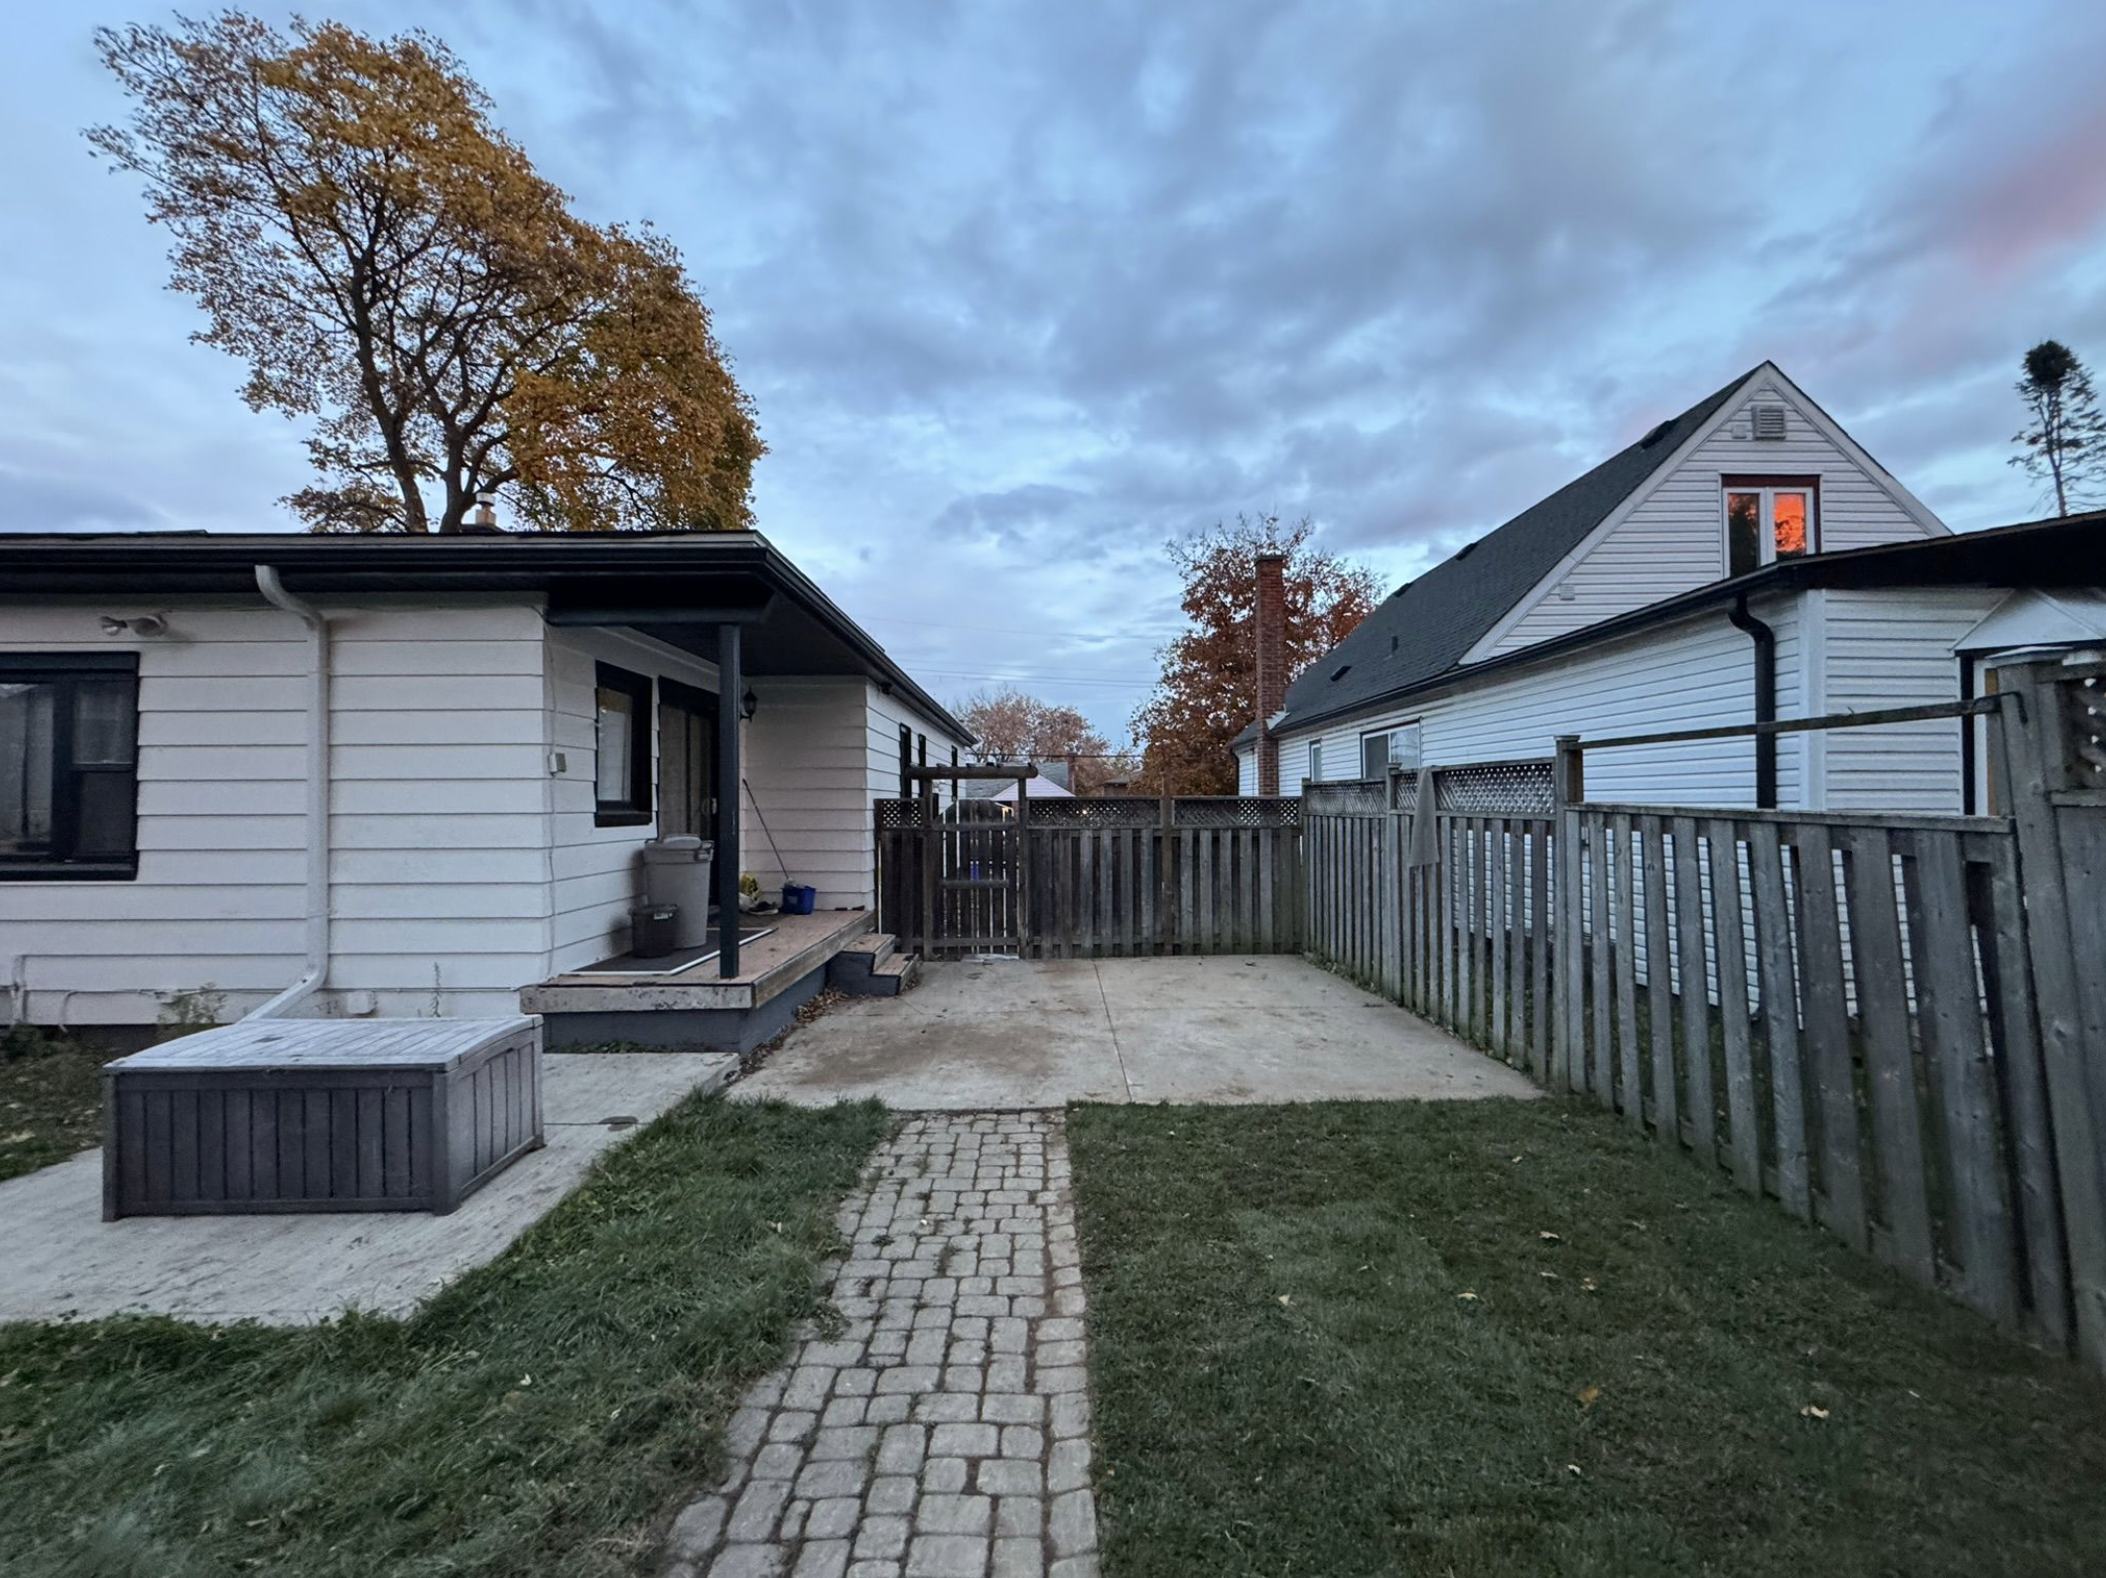
Ready to Transform Your Lawn the Right Way?
If you’re planning a sod installation in Ontario, trust The SodFather to prepare your property properly from the ground up. Our professional approach ensures your new lawn is built on a strong, healthy foundation designed for long-lasting results.
Contact The SodFather today to schedule your consultation and take the first step toward a greener, healthier outdoor space.